Instruction of Connecting the Circuit of Rolife DIY Houses and Solutions to Light Failure

Most DIY miniatures houses of Rolife are designed with lights. Therefore, some customers especially those DIY beginners may come across several difficulties in connecting the circuit when assembling. This article is going to introduce the specific steps about how to install a light and connect its circuit. Besides, there are some solutions for reference when the light doesn’t work.

How to install a light and connect its circuit?

The process of installing a light can be divided into three main parts: connecting wires to the light pins, installing the cells and connecting the wires of light to the cell box. There are detailed steps of the whole process below.

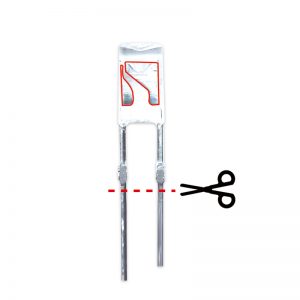
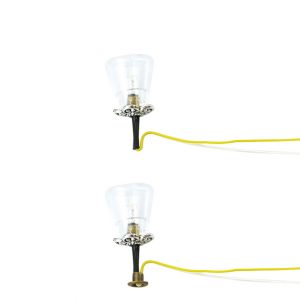
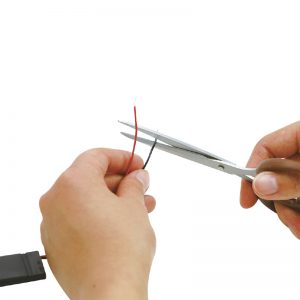
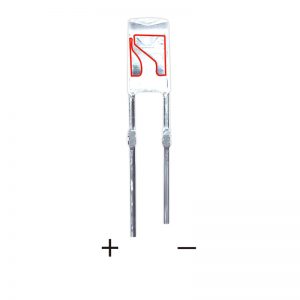
Step 1 Cut off the light pins at 8mm as shown.

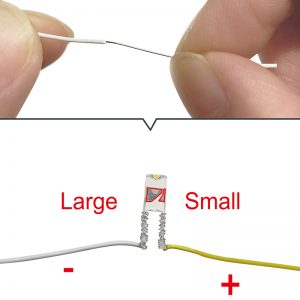
Step 2 Remove 12mm rubber off both wires in both ends and wind them separately on the light pins. The light pin with large pattern is the negative and another pin with small pattern is the positive. Connect the yellow wire to the positive and the white wire to the negative

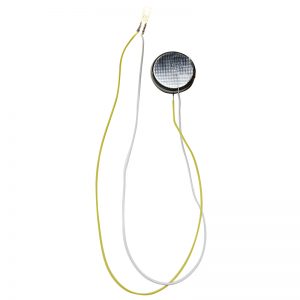
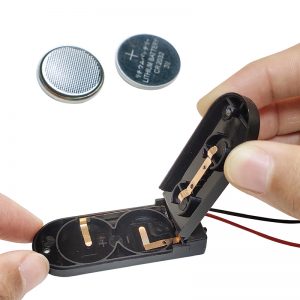
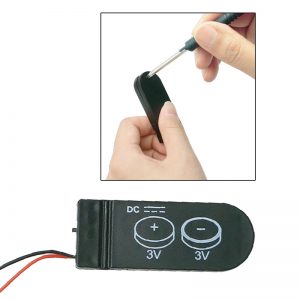
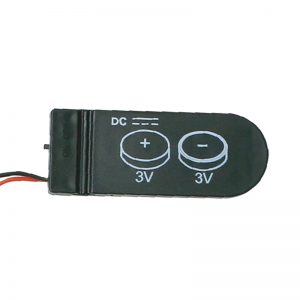
Step 3 Contact the wires with the cell to test if the light works. Don’t mix up the electrodes.

Step 4 Cut 2 10mm heat-shrink tubes and put them onto the wires. Heat the tubes to shrink them with the lighter flame over them quickly for insulation and fastening the wires. Be careful to not burn out wires. You can use the insulating tape to wrap and organize the wires in this step as well.

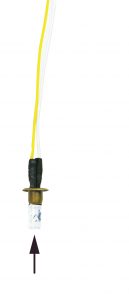
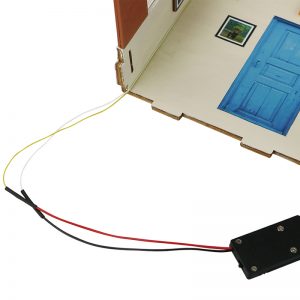
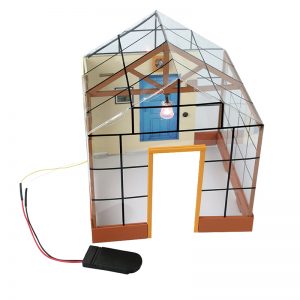
Step 5 Insert the large coppery decorations based on the arrow and test if the light works.

Step 6 Glue the other decorations as shown.

Step 7

Step 7 Put the cells into the cell box. Distinguish the electrodes and don’t mix up them. Then, tighten the box with a screwdriver.

Step 8

Step 9

Step 10

Step 8 Remove 12mm rubber from the wires of the cell box and put 20mm heat-shrink tubes in the same way. Likewise, you can use the insulating tape instead.

Step 9 Connect the wire of the light with the cell box. Connect yellow to red and white to black. Don’t mix up the electrodes. 

Step 10 Complete and test if the light works.

Two kinds of batteries including button cells and alkaline cells are used in our products. The steps above are about installing the light with the button cells, which are similar to installing alkaline cells. Besides, the cells may not be included due to customs policy in international shipping so you need to prepare them by yourself.

How to solve problems when the light doesn’t work?

· Make sure wires are connected correctly on the light pins. 

When winding wires on the light pins, connect the yellow wire to the positive and white wire to the negative. The light pin with large pattern is the negative and another pin with small pattern is the positive. In addition, if the wires are not wound tightly, the light may not work either.

· Make sure wires of the cell box are connected correctly

Connect yellow to red and white to blackDon’t mix up the electrodes and wind them tightly. However, if in the Step 2, you wind the two wires on light pins in the reverse way, which means you connect the yellow wire to the positive and white wire to the negative, then you can connect yellow to black and white to red to make the light work without winding the light pins again to save time.  

· Check if the cells are installed in wrong way. 

You may mix up the electrodes when installing cells. Distinguish the marks on both cell box and cells.

· Check if the light bead and the cell box are broken. 

In the process of transportation, the light bead and cell box may be damaged, causing the light to not work normally. Also, applying too much force may damage them by accident when installing. You can contact our customer service for replacing these parts.

The above content describes the specific steps for installing lights and connecting wires and how to solve the problem when the light doesn’t work. In conclusion, it is advisable to assemble parts carefully and follow the instructions.

.

Leave a Reply

Close Menu